
Getting Started with Mapping Clarity
1. Accessing Mapping Clarity
Section titled “1. Accessing Mapping Clarity”Log in or sign up
Section titled “Log in or sign up”To begin using Mapping Clarity, log in or create your free account.
- Existing users: log in at https://app.mappingclarity.com/login.
- New users: create a free account, with no credit card required, at https://app.mappingclarity.com/signup.
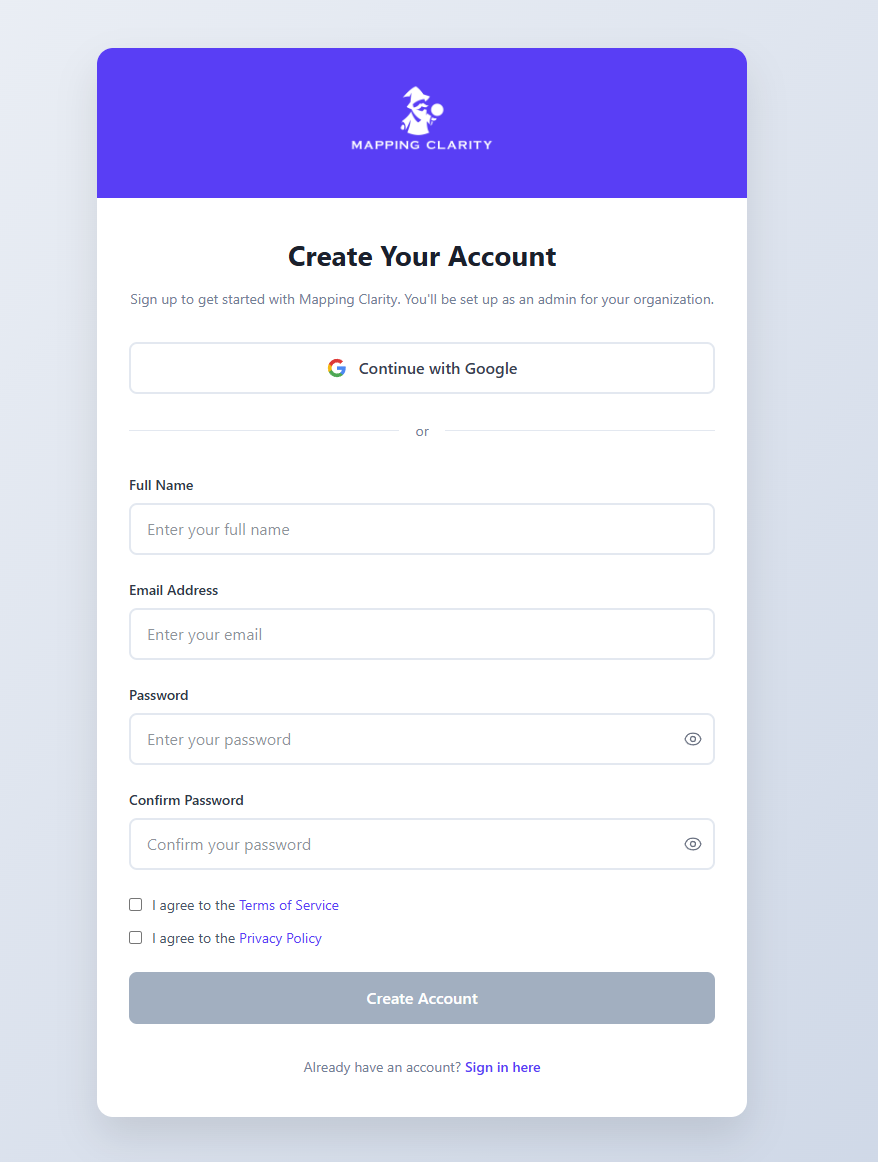
Create a Mapping Clarity account or sign in before setting up targets and uploads.
2. Setting up data targets
Section titled “2. Setting up data targets”A target is the classification or normalized value you want raw data to map to, such as standard industry codes or standardized vendor names. You can use global targets or create your own custom targets.
To define your own classifications, go to Custom Targets and select Create Custom Target.
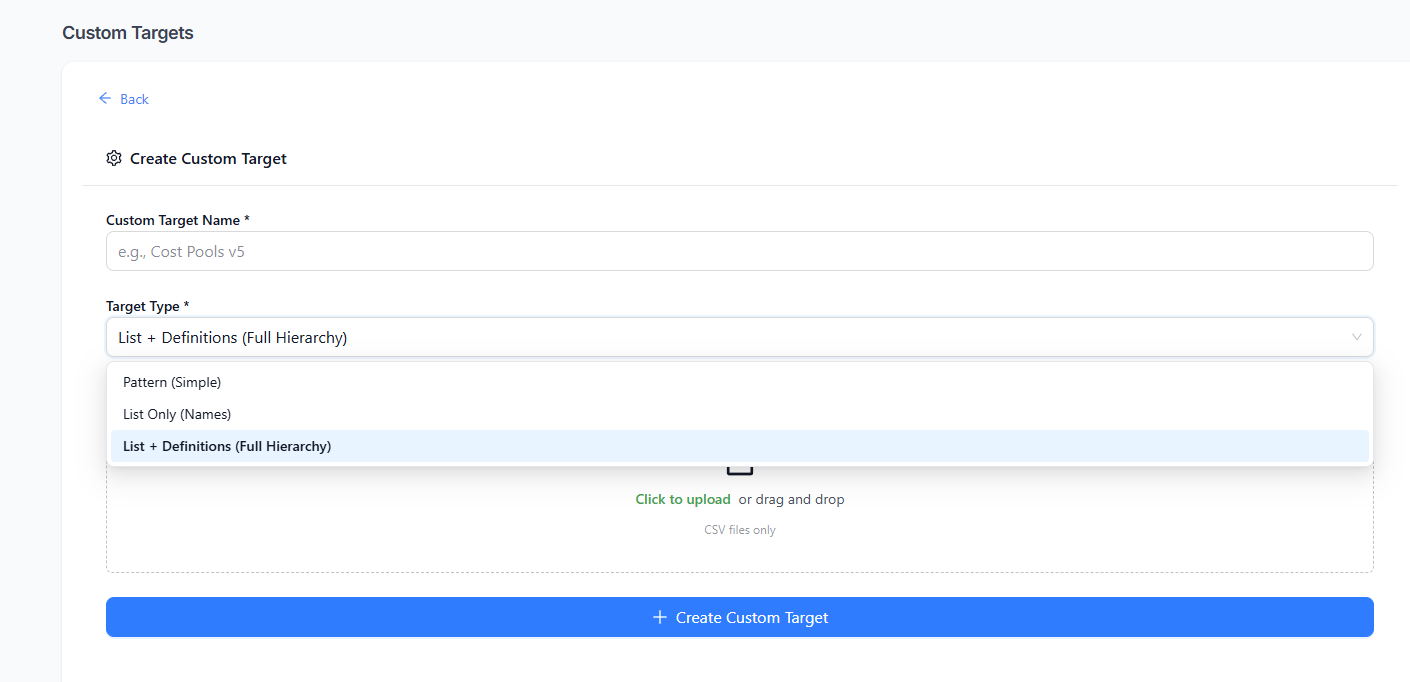
Custom targets let you add your own taxonomies, lists, and mapping patterns.
Target types
Section titled “Target types”| Target type | Use case | Best for |
|---|---|---|
| List + Definitions | A defined list or taxonomy where each item has a written definition. Definitions help the AI make higher-confidence decisions. | Well-defined standards and comprehensive taxonomies. |
| List Only | A defined list of values that uploaded data must map to. | Strict classification where no outside values are permitted. |
| Pattern | Mapping based on context, prior examples, and data patterns rather than a predetermined target list. | Normalization tasks like vendor normalization. |
3. Creating a data pipeline
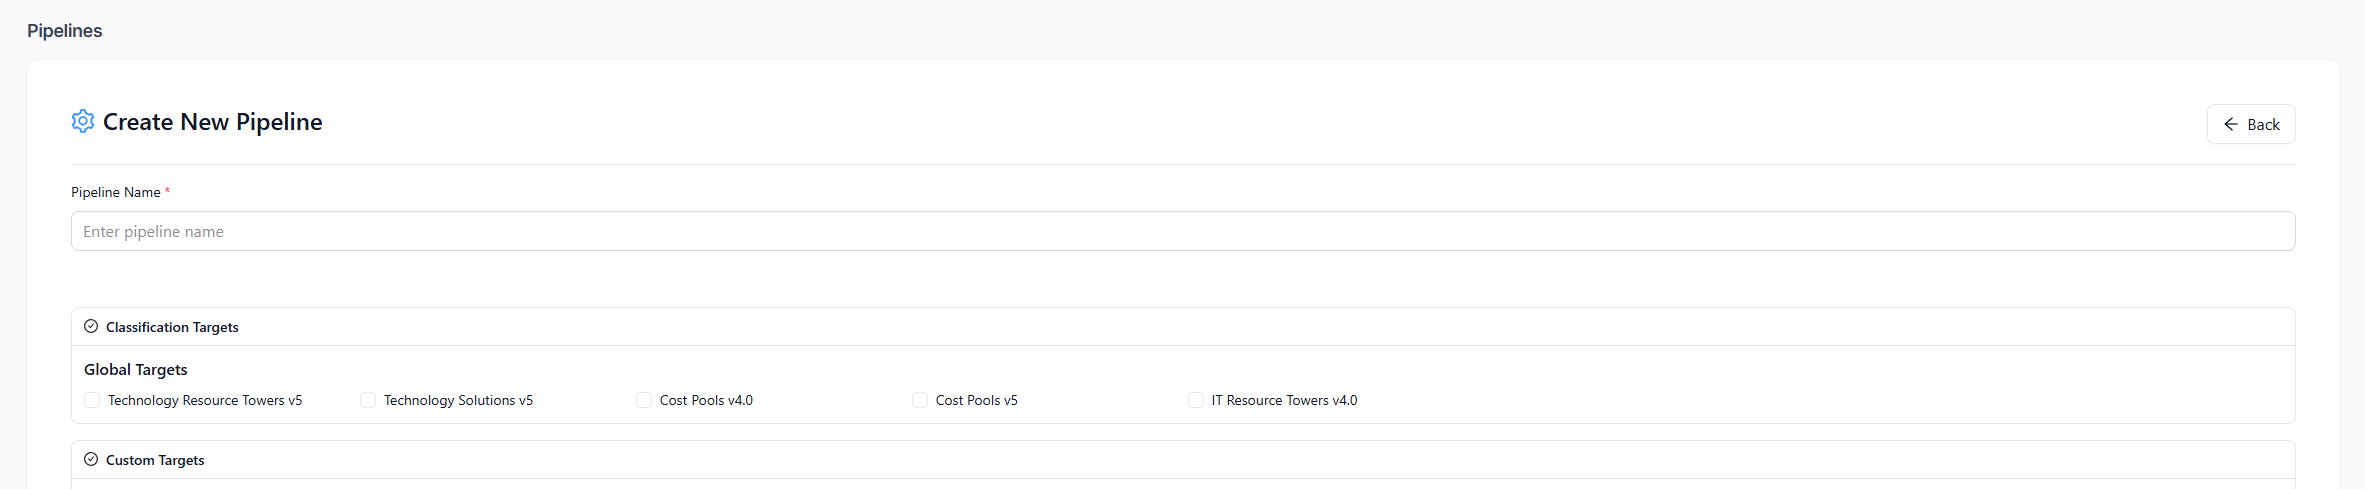
Section titled “3. Creating a data pipeline”A pipeline defines which targets your incoming data will be mapped against.
Create your pipeline at https://app.mappingclarity.com/pipelines.
- Use an enduring pipeline when you plan to reuse the same targets repeatedly.
- Use a temporary pipeline during upload for one-off mapping jobs.
4. Uploading and processing data
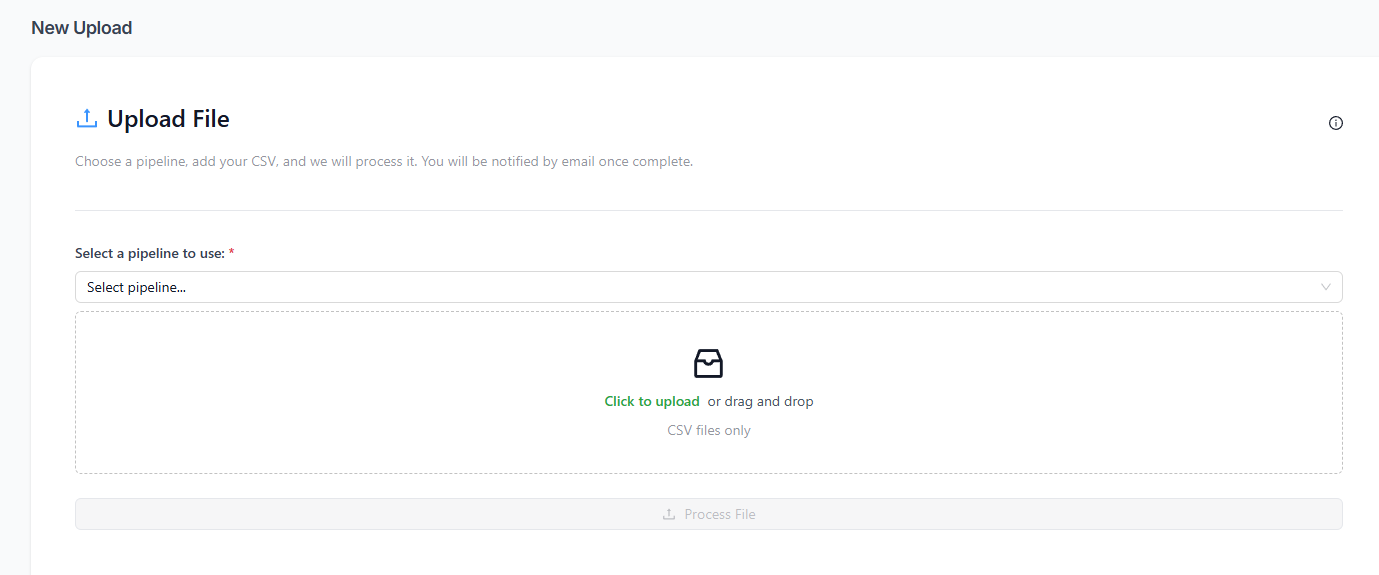
Section titled “4. Uploading and processing data”Go to https://app.mappingclarity.com/upload, select your pipeline, and upload your data.
Choose a pipeline, then upload the CSV file you want Mapping Clarity to process.
If an uploaded column header exactly matches the name of one of your targets, Mapping Clarity treats the values in that column as ground truth. This can pre-train the algorithm before processing new, unclassified data.
After upload, processing begins automatically. Track job status at https://app.mappingclarity.com/jobs. You will also receive an email notification when the job is complete.
5. Reviewing and downloading data
Section titled “5. Reviewing and downloading data”Open the completed job from job history to review the mapped results. Results are ordered by confidence score so you can focus on lower-confidence rows first.
Review completed jobs, inspect confidence and reasoning, then download corrected results.
You can manually correct mappings in the review screen. Those corrections help Mapping Clarity learn from your feedback.
When review is complete, download the final mapped data as a CSV.